Hand Seals Designed for Performance
National’s Red 375 Series oil bath seals deliver reliable performance for heavy-duty and commercial vehicles. Featuring exclusive DYNAMIC EDGE® technology, they deflect dirt and moisture away from wheel end components. The application-specific, hand-installable design speeds up installation and simplifies service.
Red 375 Series with a hand-installable design deliver dependable service across demanding conditions.
- Temperature range of -40°F to 225°F for reliable performance in extreme environments.
- Unitized construction enhances structural integrity, simplifies installation, and protects the main sealing lip.
- Abrasion-resistant nitrile with spring-loaded main lip ensures positive sealing while minimizing shaft wear.
- Unique rubber ID and OD includes patented SURE-LOCK® ribs that prevent shaft leaks and bore contamination.
Covering a wide variety of applications, Red 375 hand-installable seals are available in the five most popular part numbers:
Steps for Installing National Red 375 Series Oil Bath Seal
Installing a National Red 375 Series oil bath seal takes just a few easy steps.
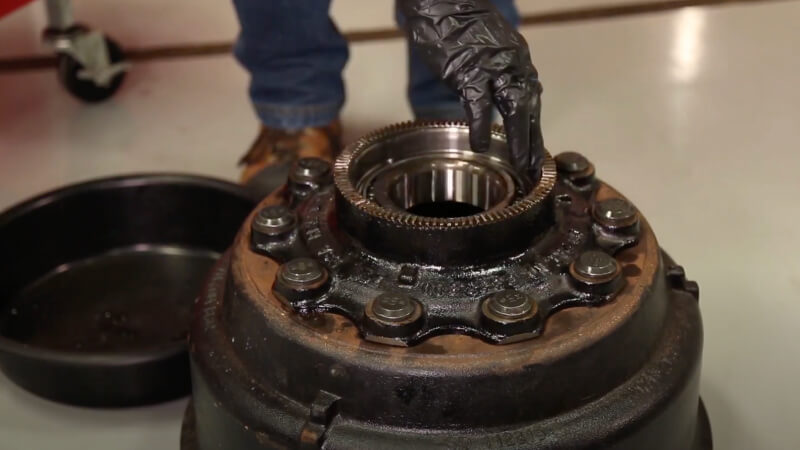
To prepare the wheel hub assembly:
- Position the hub flat or at a 45° angle.
- Inspect the hub to ensure that it’s free of dirt, rust, sharp edges and scratches.
- If any imperfections, use emery cloth to remove.
- Thoroughly clean the hub before assembly.

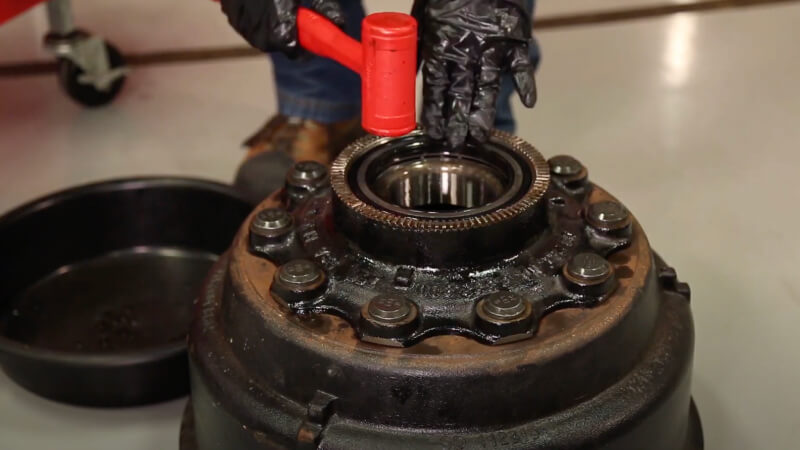
Lubricate the bearing with hub oil and carefully place it into the bearing race.

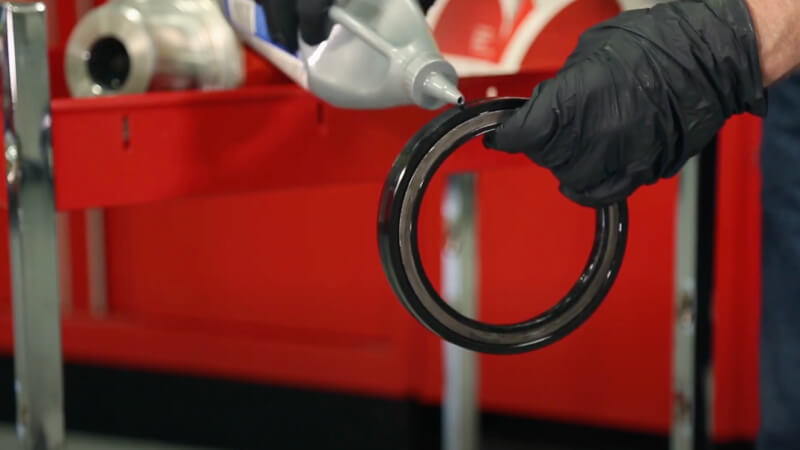
Apply a layer of hub oil on the inside of the bore where the seal will be pressed in place. Evenly coat the seal’s outer and inner diameters with hub oil. Note: Never install the seal dry.

Align the seal over the bore and drop it into place using the built-in pilot to ensure proper positioning.
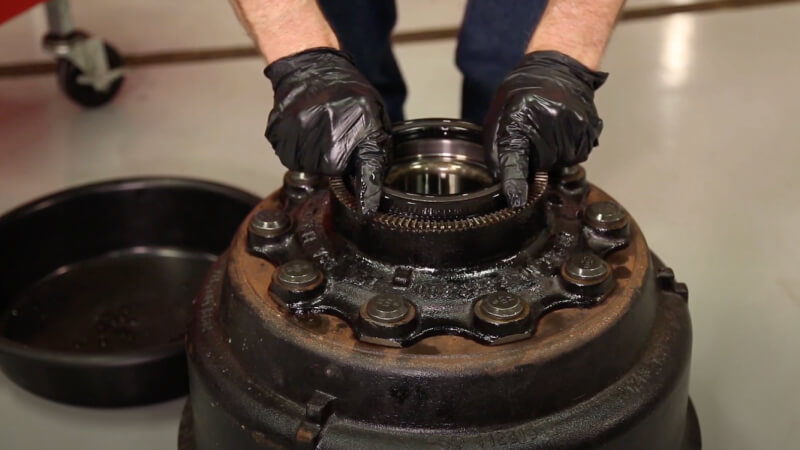

Align the seal over the bore and drop it into place using the built-in pilot to ensure proper positioning.
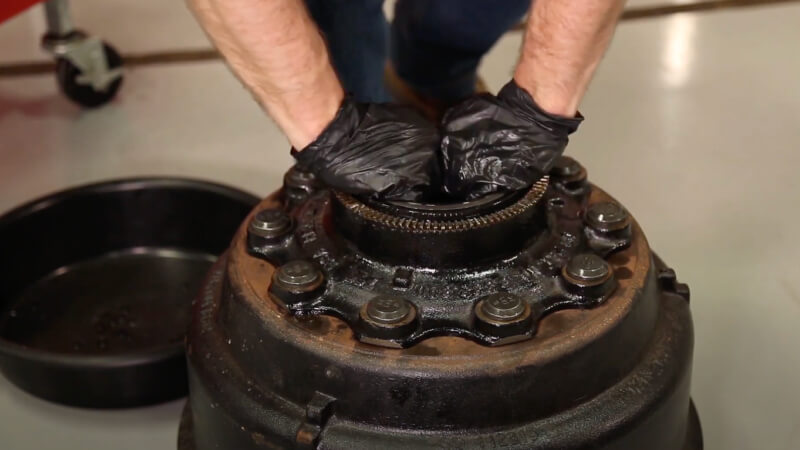
If needed, use a rubber mallet to gently tap the seal into place until it sits squarely in the bore and bottoms out.
Pro Seal Installation Tips:
- Never install the National hand installable seal directly onto the spindle. If the seal is damaged or misaligned (cocked) during or after installation, replace it.
- After installation, ensure the bearing rotates freely with no interference.
- Avoid using a hammer, punch or wood block. Wood can introduce debris into the hub, leading to seal and bearing failure.
- Wipe off excess oil with a clean rag after installation. An oily hub may appear to be leaking, which could result in an out-of-service citation.
- Allow the seal to rest in place for about five minutes before installing it onto the hub.
Learn more about premium heavy-duty parts, consult our catalogs, find your car part, or find where to buy your auto part today.
The content in this article is for informational purposes only. You should consult with a certified technician or mechanic if you have questions relating to any of the topics covered herein. DRiV and its affiliates (including Federal-Mogul Motorparts LLC) will not be liable for any loss or damage caused by your reliance on any content.