Recognizing the Signs of a No-Start Condition
When your heavy-duty vehicle won’t start it’s more than frustrating, it can cost you time, money and productivity. If you turn the key and:
- Nothing happens
- You hear a clicking sound
- Engine cranks slowly
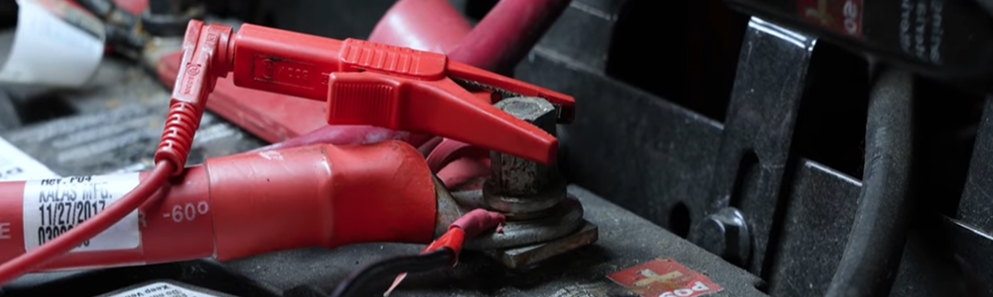
It’s time to start investigating. Most no-start conditions can be traced to the following components:
- Battery
- Cables & wiring
- Starter
- Alternator
Essential Electrical Checks: Battery, Cables, Starter, Alternator
To identify the root cause of a no-start condition, it helps to follow the power path. Start with the battery – if it can’t deliver sufficient voltage, the starter won’t engage, and the alternator becomes a secondary concern. From there, inspect the cables and wiring that carry power to the starter and charging system; corrosion, loose connections, or damaged insulation can interrupt current flow just as easily as a failing component. If the battery is consistently undercharged, the alternator may be failing to replenish it properly. By tracing power from the battery through the cables, start and alternator, you can isolate the issue and avoid unnecessary part replacements.

Battery
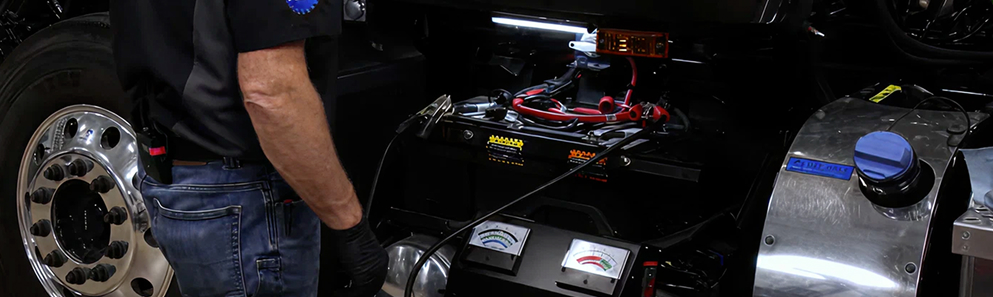
The battery is the foundation of the starting and charging system. Start by confirming that the battery can deliver adequate power under real-world conditions. A visual inspection and basic voltage test can quickly rule out obvious issues, while load testing and reserve capacity checks help assess true performance. If the battery repeatedly discharges, investigate potential parasitic draw to prevent misdiagnosis or premature replacement.
- Visual Inspection
- Check for corrosion, loose terminals, damaged cables or signs of swelling/leakage.
- Confirm ground cable integrity.
- Voltage Test
- Use a multimeter: a healthy battery should read 12.6V or higher at rest.
- Below 12.4V may indicate partial discharge; below 12.0V is likely insufficient for starting.
- Load Test
- Apply a load tester to simulate starting conditions.
- Watch for voltage drop – if it falls below 9.6V under load, the battery may be weak or failing.
- State of Charge & Reserve Capacity
- Use a battery analyzer to check cold cranking amps (CCA) and reserve capacity against spec.
- Check for Parasitic Draw
- If the battery repeatedly discharges, test for excessive current draw when the vehicle is off.

Cables & Wiring
A no-start condition can stem from issues in the cables and wiring that carry power through the starting and charging system. Even if the battery and starter test well, poor grounds, high resistance or damaged conductors can interrupt current flow. A thorough inspection helps prevent misdiagnosis and ensures the power path is intact.
- Check Ground Paths
- Verify that the grounds are clean and secure at the engine block, chassis and negative battery post.
- Look for corrosion, paint or debris that may increase resistance.
- Looseness
- Check for loose fasteners or terminals.
- Loose connections promote heat buildup and corrosion.
- Connector Crimping
- Insect for poor or incomplete crimps.
- Poor crimping causes intermittent or complete loss of power.
- Insulation Condition
- Look for cracked, split or worn insulation.
- Damaged insulation allows moisture intrusion and internal cable corrosion.
- Cable Gauge
- Confirm all cables meet manufacturer specifications for gauge and current capacity.
- Undersized cables can cause excessive voltage drop under load.

Starter
Once battery and cable health is confirmed, shift focus to the starter. The starter motor converts electrical energy into mechanical rotation to crank the engine. If the starter fails to engage or turns sluggishly, inspect its wiring, solenoid function and voltage delivery. Mechanical faults, worn brushes or internal resistance can also prevent proper operation – even with a fully charged battery.
- Listen for Clues
- Single click = possible solenoid issue.
- Rapid clicking = low voltage or poor connection.
- Silence = electrical fault or failed starter.
- Voltage Drop Test
- Measure voltage at the starter during crank attempt.
- A drop below 9V may indicate poor cable condition or high resistance.
- Bench Test the Starter
- Remove and test with direct power to confirm motor and solenoid function.
- Inspect Starter Relay & Fuse
- Check for continuity and proper operation.
- Confirm relay activation from ignition switch.

Alternator
The alternator maintains battery charge and powers electrical systems while the engine runs. If the battery repeatedly discharges or electrical accessories behave erratically, the alternator may underperform. Testing output voltage, belt condition and diode integrity can reveal whether the alternator is operating effectively or contributing to system failure.
- Charging Voltage Test
- With engine running, voltage should be 13.8-14.4V at the battery.
- Lower readings suggest undercharging; higher may indicate a faulty regulator.
- Diode Ripple Test
- Use an oscilloscope or multimeter in AC mode to detect ripple voltage.
- Excessive ripple = failed diodes inside the alternator.
- Belt & Pulley Inspection
- Check for slippage, wear, or misalignment that could affect charging.
- Check for Overcharging
- If voltage exceeds 14.8V, it may damage the battery and electronics.
- Confirm Output Under Load
- Turn on lights, HVAC, and accessories – voltage should remain stable.
What If the Vehicle Still Won’t Start?
If the battery, cables and wiring, starter and alternator all test good, it’s time to dig deeper. A methodical, system by system approach is essential for pinpointing the root cause. Begin by following the manufacturer’s diagnostic procedures using the recommended tools for no start testing. Scan for diagnostic trouble codes; these can reveal faults in the starting circuit or engine management system. Follow each step in the diagnostic flow. Once a fault is identified and repaired, complete the remaining tests to confirm proper system operation.
Learn more about premium heavy duty parts, consult our digital catalogs, find your car part, or find where to buy your auto part today.
The content in this article is for informational purposes only. You should consult with a certified technician or mechanic if you have questions relating to any of the topics covered herein. DRiV and its affiliates (including Federal-Mogul Motorparts LLC) will not be liable for any loss or damage caused by your reliance on any content.