Maintaining Brake Performance
Air disc brakes are increasingly common across heavy-duty and commercial-vehicle platforms, and a proper inspection is essential to maintaining consistent brake performance, preventing premature wear and reducing wheel-end downtime. Unlike drum brakes, air disc brake systems rely on precise caliper movement, clean air delivery and correctly installed hardware to ensure the pads and rotor engage evenly. Each component plays a specific role in how the brake applies, adjusts and releases.
A thorough air disc brake inspection includes verifying the condition of the air hose and fittings, confirming the brake chamber is properly mounted and sealed, checking guide pin caps to ensure the caliper can move freely, and inspecting pad wear indicators built into the carrier and caliper. The rotor must be evaluated for remaining wear indicator depth and for whether it can be turned or must be replaced, depending on manufacturer guidelines. Finally, all pad-retention hardware – including the retainer, pin, washer, and clip – must be present and in good working condition to keep the pads secure under load.
The following steps outline a reliable process for inspecting air disc brakes on heavy-duty vehicles.
Air Hose & Fittings
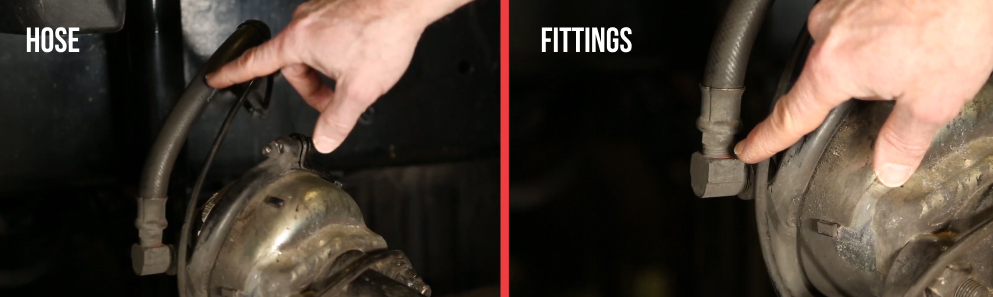
Inspect the air hose that feeds the brake chamber.
- Make sure the hose is clean, free of cracks and not broken or worn.
- Check all fittings for corrosion, damage or looseness.
Why It Matters:
Any air leak or restriction affects chamber performance and can lead to slow or uneven brake application.
Brake Chamber
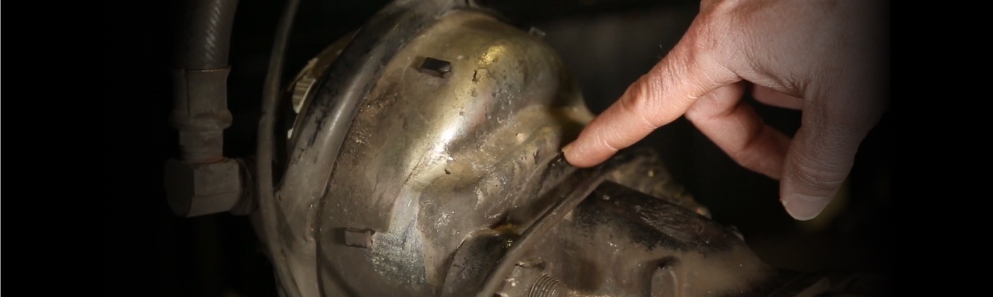
Verify the brake chamber is properly mounted to the caliper.
- Ensure the chamber is tight and torqued to the caliper.
- Look for any signs of contamination between the chamber and caliper.
Why It Matters:
Contamination or improper mounting affects how the caliper adjusts itself. A loose chamber can allow dirt and debris to enter the self-adjusting mechanism, reducing the caliper’s braking efficiency.
Guide Pins & Caps
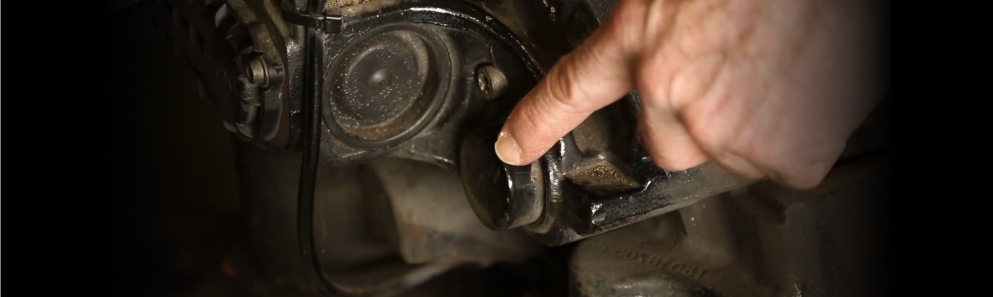
Check the guide pin caps located on the back of the caliper.
- Each caliper has two guide pins and two caps – confirm the caps are present.
- Inspect caps for damage or looseness.
Why It Matters:
If the caps aren’t in place, the caliper can’t slide properly. Restricted movement leads to uneven pad wear and compromises braking performance.
Brake Pads
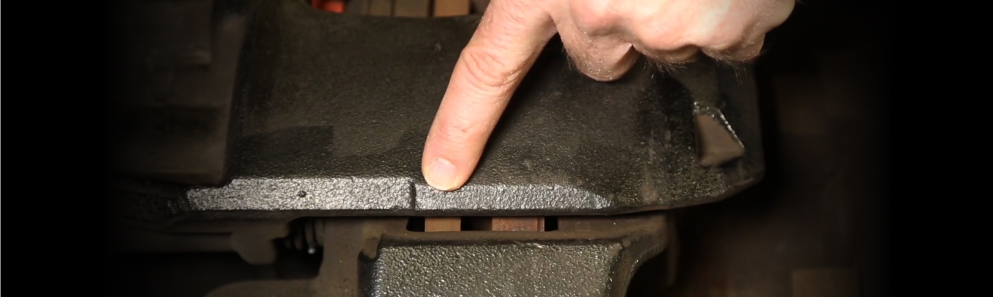
Inspect pad wear using the built-in indicators.
- Wear indicators are cast into the carrier and cast into the caliper.
- If the marks are lined up, the pads have reached their wear limit and must be replaced.
Why It Matters:
Pads worn past their limit reduce stopping power and can damage the rotor surface.
Rotors
Check rotor condition and wear indicators.
- Inspect the rotor wear indicators; if they’re gone, the rotor is at or past its minimum thickness.
- Measure the rotor to determine if it can be turned or must be replaced.
- Always check with the manufacturer first – not all rotors are turnable.
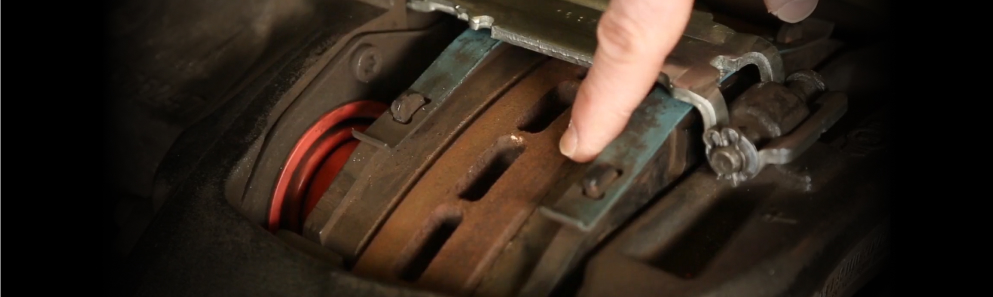
Why It Matters:
A rotor below minimum thickness can crack, overheat or fail under load.
Hardware
Verify all pad-retention hardware is present and functioning.
- Inspect the brake pad retainer, pin, washer and clip.
- Make sure each component is installed correctly and in good working condition.

Why It Matters:
Missing or damaged hardware can cause pad movement, noise, uneven wear or complete brake failure.
Learn more about quality heavy-duty vehicle parts, find the right car part or find a local repair shop today.
The content in this article is for informational purposes only. You should consult with a certified technician or mechanic if you have questions relating to any of the topics covered herein. DRiV and its affiliates (including Federal-Mogul Motorparts LLC) will not be liable for any loss or damage caused by your reliance on any content.